Introduction

Whenever I pick up my Zeiss Distagon 21mm/2.8 and the Makro-Planar 100m/2 to photograph things or people, the images that are produced by them often leave a big smile on my face. When our friend Carl Zeiss released the news about an APO lens for ZF.2, my heart leapt for joy. The last true APO lens I owned was the Leica 90mm/2 APO Summicron-M. It produced the most corrected colored images I have ever seen. I sold it away because it was a very difficult lens to focus on a Leica-M. Now, I am deeply thrilled that I can own yet another APO lens and this time it will be paired with a Nikon DLSR!
Apochromatic (APO) Lenses
Before we talk about the Zeiss Sonnar, one question which might come into your mind may be this: what is an apochromatic lens? Since you are going to spend the money, it might be worth your time knowing what you are buying.
As you may already know, when white light passes through a glass prism, it gets bended and that white light is dispersed into a spectrum of rainbow colors. There will be a similar occurrence in the lens elements if the lens designer did not correct it. Leaving it uncorrected is not good because you will see color fringes on the edges of your subject where higher contrast is present. That high contrast edge is usually where the edge of your subject meets the air and behind that airy domain is where a much lighter and brighter color exists. When the light transitions from the edge of your subject to the air where the color is lighter or brighter, a colored fringing occurs at the edge of your subject. Obviously, the reverse is also true: when the subject is brighter than the surroundings. Fringing can be present on the edges of your subject in this situation as well. When this occurs in lens optics, it is called an aberration; specifically, a chromatic aberration. This fringing effect also presents to the human eyes a reduction in sharpness because the edges are no longer sharp delineations.
As you may already know, when white light passes through a glass prism, it gets bended and that white light is dispersed into a spectrum of rainbow colors. There will be a similar occurrence in the lens elements if the lens designer did not correct it. Leaving it uncorrected is not good because you will see color fringes on the edges of your subject where higher contrast is present. That high contrast edge is usually where the edge of your subject meets the air and behind that airy domain is where a much lighter and brighter color exists. When the light transitions from the edge of your subject to the air where the color is lighter or brighter, a colored fringing occurs at the edge of your subject. Obviously, the reverse is also true: when the subject is brighter than the surroundings. Fringing can be present on the edges of your subject in this situation as well. When this occurs in lens optics, it is called an aberration; specifically, a chromatic aberration. This fringing effect also presents to the human eyes a reduction in sharpness because the edges are no longer sharp delineations.
 Most regular lenses are corrected for two of the primary colors; namely, the Red(R) and the Blue(B) end of the spectrum. What's in between is called the secondary spectrum. Naturally, correcting only the R & B areas of the spectrum will still produce color fringes in images under harsh lighting conditions.
Although there are no industry standards to define a lens worthy of the classification of an APO lens, most major lens crafters agree that for a lens to be called an APO lens, the correction for chromatic aberration must be corrected not just for R & B but must also include Green(G); thus, corrected for all three primary colors, RGB. Some manufactures have gone further to correct for seven colors and named their lenses superachromats. In fact, that was what Zeiss did in the 1970's during the Hasselblad days. That type of lens was, indeed, used first by satellites to photograph parts of earth to produce images that can accurately reveal minute color variations on the land for scientific analysis.
Color Fidelity
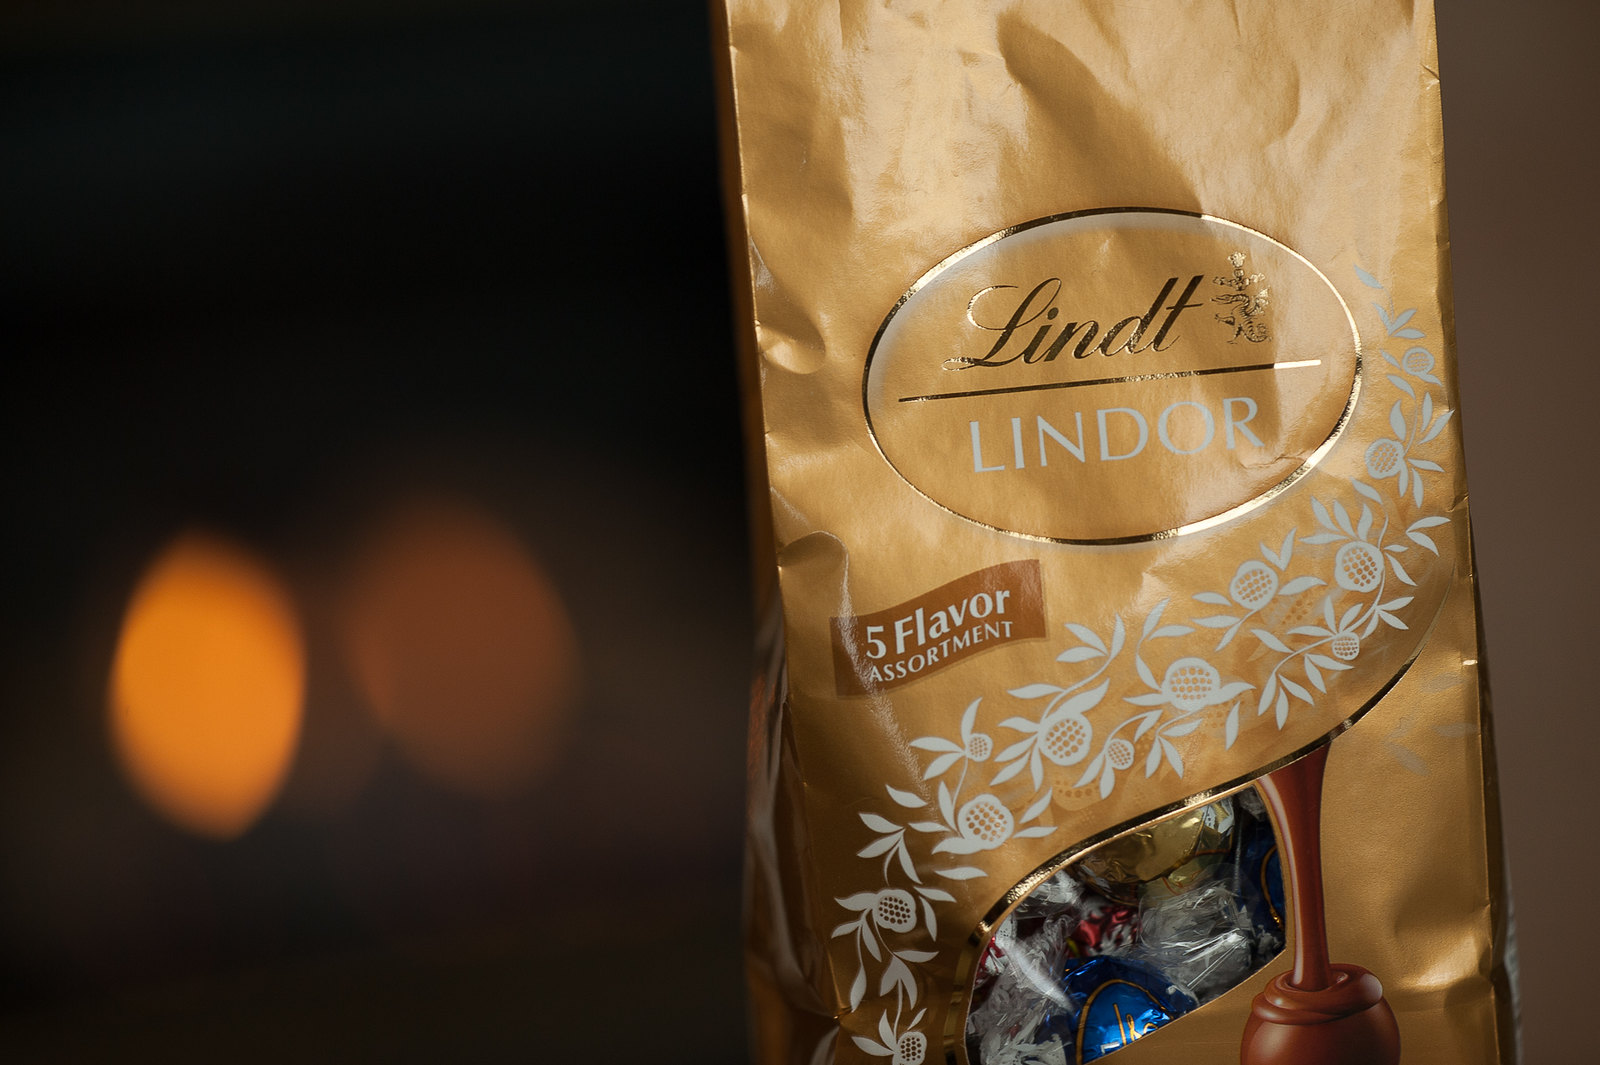
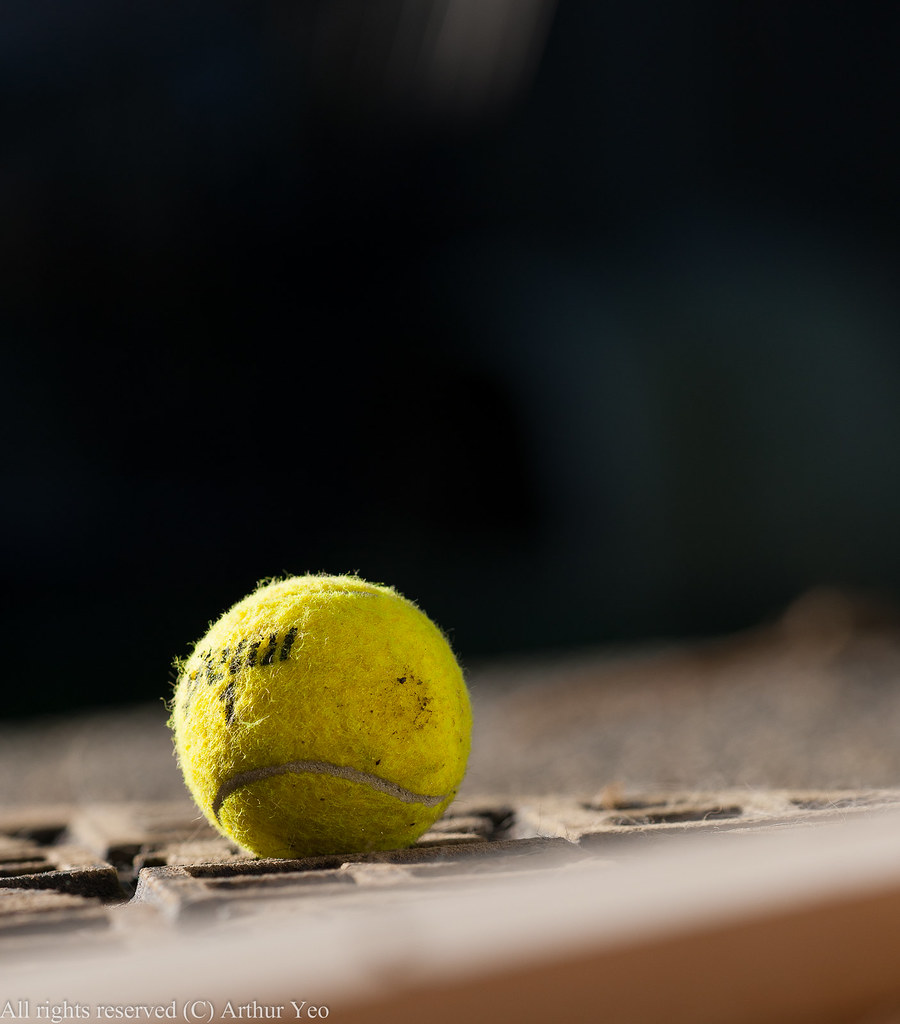
 Here is a second challenge I gave to the Sonnar lens. Strong backlit light pouring out from the sun onto a tennis ball. What do you see at the edges of the tennis ball? I see a clear delineation without any fringes at all. A regular non-APO lens would be hard pressed with this challenge.
Are you savoring the technical achievements produced by the Zeiss engineers? Is this sinking in? To me, this is a technical marvel which I can hold in your hands to create images of my own and I love that feeling. This is the kind of color fidelity and resolution I expect when I hold an APO lens in my hands.
Bokeh
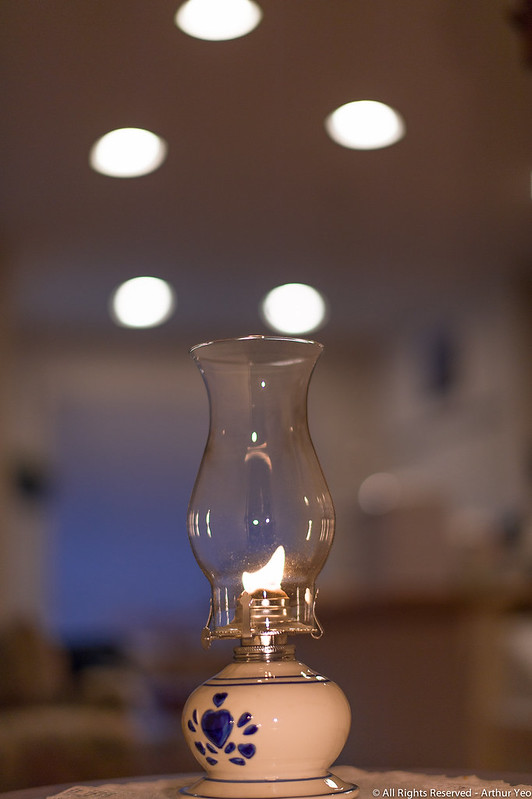
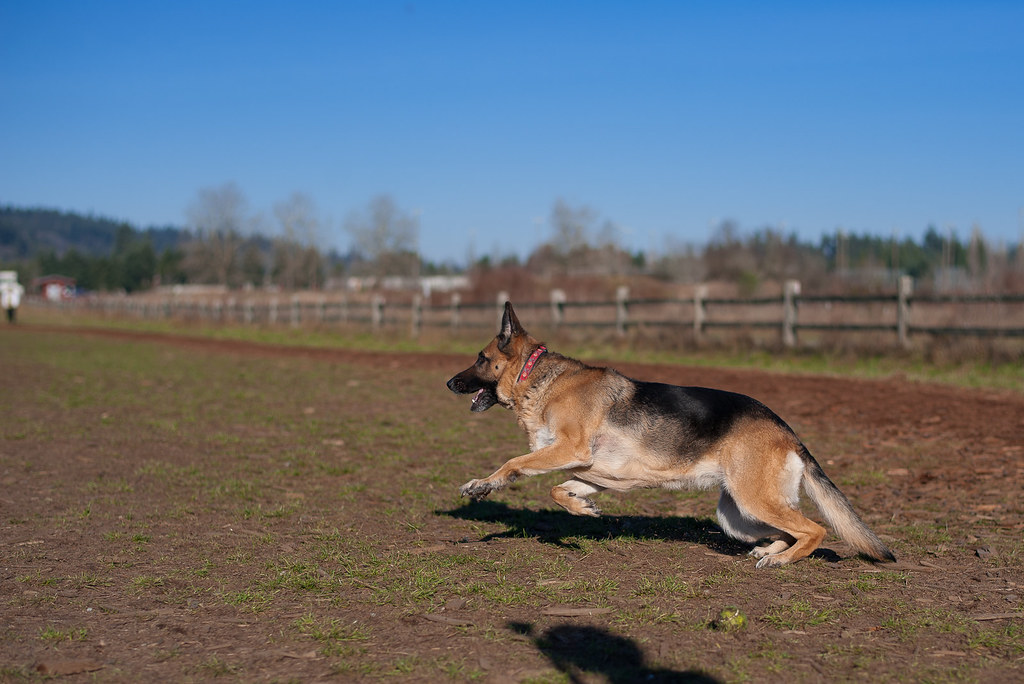
 Bokeh in almost all of the Zeiss ZF line of lenses are pleasing, including their wide-angle lenses such as the Distagon 35mm/2. Some, though, are better than others. I find it hard to differentiate the bokeh between the Makro-Planar 100mm/2 and this Sonnar. However, with the 135mm being a longer lens, optically, I see more defocused areas when the aperture is opened wide and the subject is close compared to the 100mm Planar under a normal non-macro shooting scenario. As a result, I get to enjoy more of the smooth silky bokeh which this Sonnar seems to be an expert in. The bokeh produced by this lens is, undoubtedly, one of the most pleasing I have seen.
Resolution
 The Modulation Transfer Function (MTF) graph published on the Zeiss website for this lens indicated a high resolution lens.
Both the sagittal (the bold) and tangential (dotted) lines for the 10 line pair (lp) spatial frequency are above the 90% mark on the Y-axis. Please refer to the top 2 lines that run horizontally across the graph. Not only that, they are almost flat straight across all the way to the edge of the lens. This is excellent news: in terms of resolving for large structure objects, this lens is sharp all the way to the edge of the image.
Moving down to resolving for mid-size structures, the next pair of lines resolve for 20 lp spatial frequency. It looks like the same story, flat straight across with a mild bent downwards when you reach the edge of the lens.
It's not until you look at the finest resolution performance at 40 lp (refer to the bottom-most pair of lines) do you see a fair amount of bending at the edge.
All in all, the resolving capabilities of this lens is up in the top end compared to other high-end lenses in the market. One can find a 3rd party DxO Mark lab test that showed the details in comparison to other lenses. This lab test actually showed that the sharpness is quite close to the industry standard reference lens, the Zeiss Otus Distagon 55mm/1.4.
Physical aspects
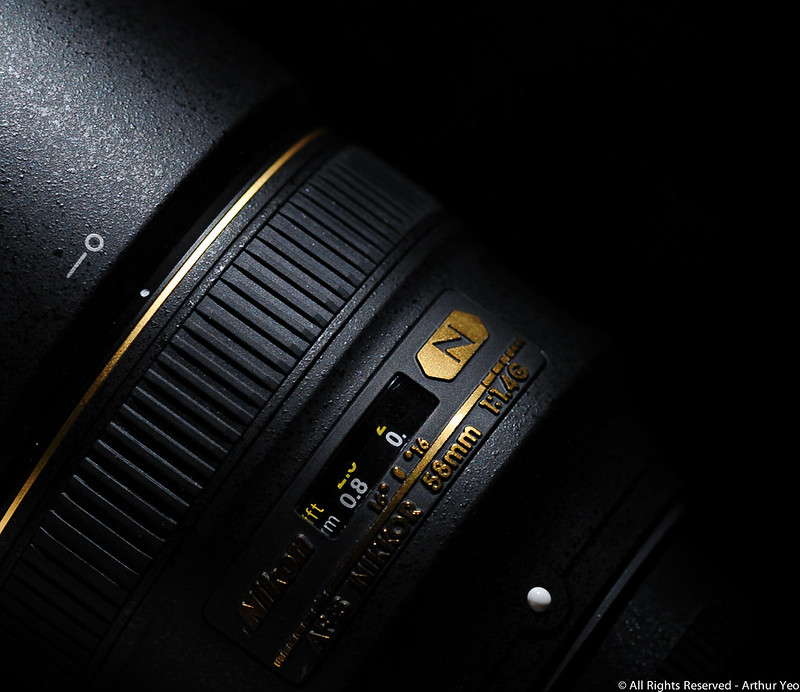
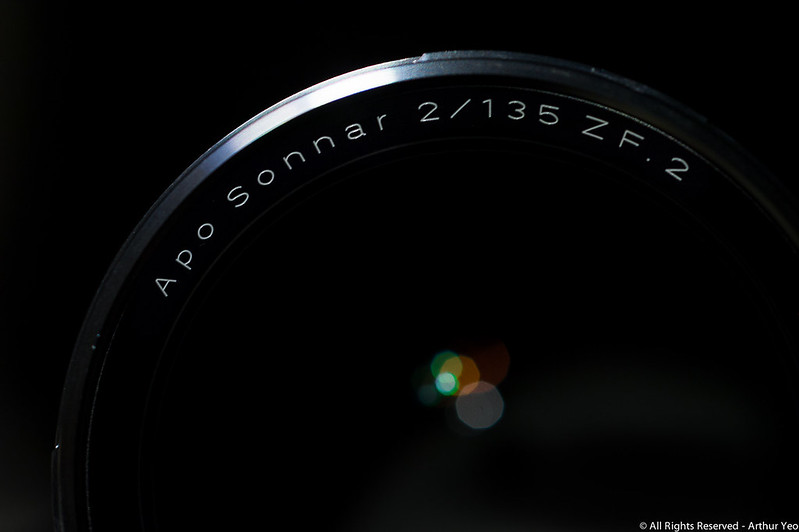
 The physical aspect of unboxing this lens came like the rest of my experiences with other ZF lenses. They all came with a signed quality control card, like a greeting card from the quality-control manager. All markings on the lens are engraved and painted; no printed stuff, as usual. The focusing ring has the same Zeiss touch: buttery smooth and has enough inertia for very accurate focusing. Pinching the lens cap had the desired effect of removing the cap and when released, the spring snapped it back on. The length of the lens is longer than the 100mm Makro-Planar and the weight is heavier. But, trust me, it does not weigh like my Nikkor 200mm/2.
Nikkor 200mm/2VR2
For those who are familiar with the Nikkor (Nikon) 200mm/2VR2, it sounds like it can and will challenge this Sonnar in terms of color fidelity, resolution and bokeh. But, there are a couple of differences we need to be aware of and I would like to share with you a few pointers based on my experiences with these 2 lenses:
- Weight: The weight of the Nikkor is incomparable to the Zeiss: approximately, we are comparing (D3/4 + lens) 9 lbs to 4 lbs. You need strong arms to use the Nikkor handheld.
- Auto focus (AF) speed: If you do not need AF, then the Zeiss Sonnar will do just fine. I need to highlight the fact that the Nikkor was designed for speed; so, if you need AF speed, the Nikkor will fit your needs.
- Price: The Nikkor is not only hefty in weight, it is also hefty in price. Again, we are comparing, approximately, $6,000 (Nikkor 200mm/2VR2) to $2,000 (Zeiss APO Sonnar 135/2)
In short, the two lenses are made for different purposes, so comparing them is not profitable.
Conclusions
 If there is a good reason or a few reasons for buying this lens, it will be all about color fidelity, resolution and pleasing bokeh. If you focus your image capturing efforts on the above strengths when using this lens, you will be pleased and I would dare say that quite a few of your images will amaze you and give your eyes a feast!
Complaints
I have no complaints about this lens. Everything came and performed as described. I am a very satisfied customer. If I may suggest one improvement: it is still quite difficult to pinch the lens cap to remove it. May be Zeiss would consider increasing the depth (or the thickness) of the lens cap so that the fingers will find more space to pinch the cap with ease and remove it without slipping.